In Modeling Instruction lessons, most units start with a ‘paradigm lab’ that initiates development of a conceptual model for the unit (‘concepts before math’). When introducing forces, the model presented here develops the relationship between ‘pushes’ and changes in motion.
Materials
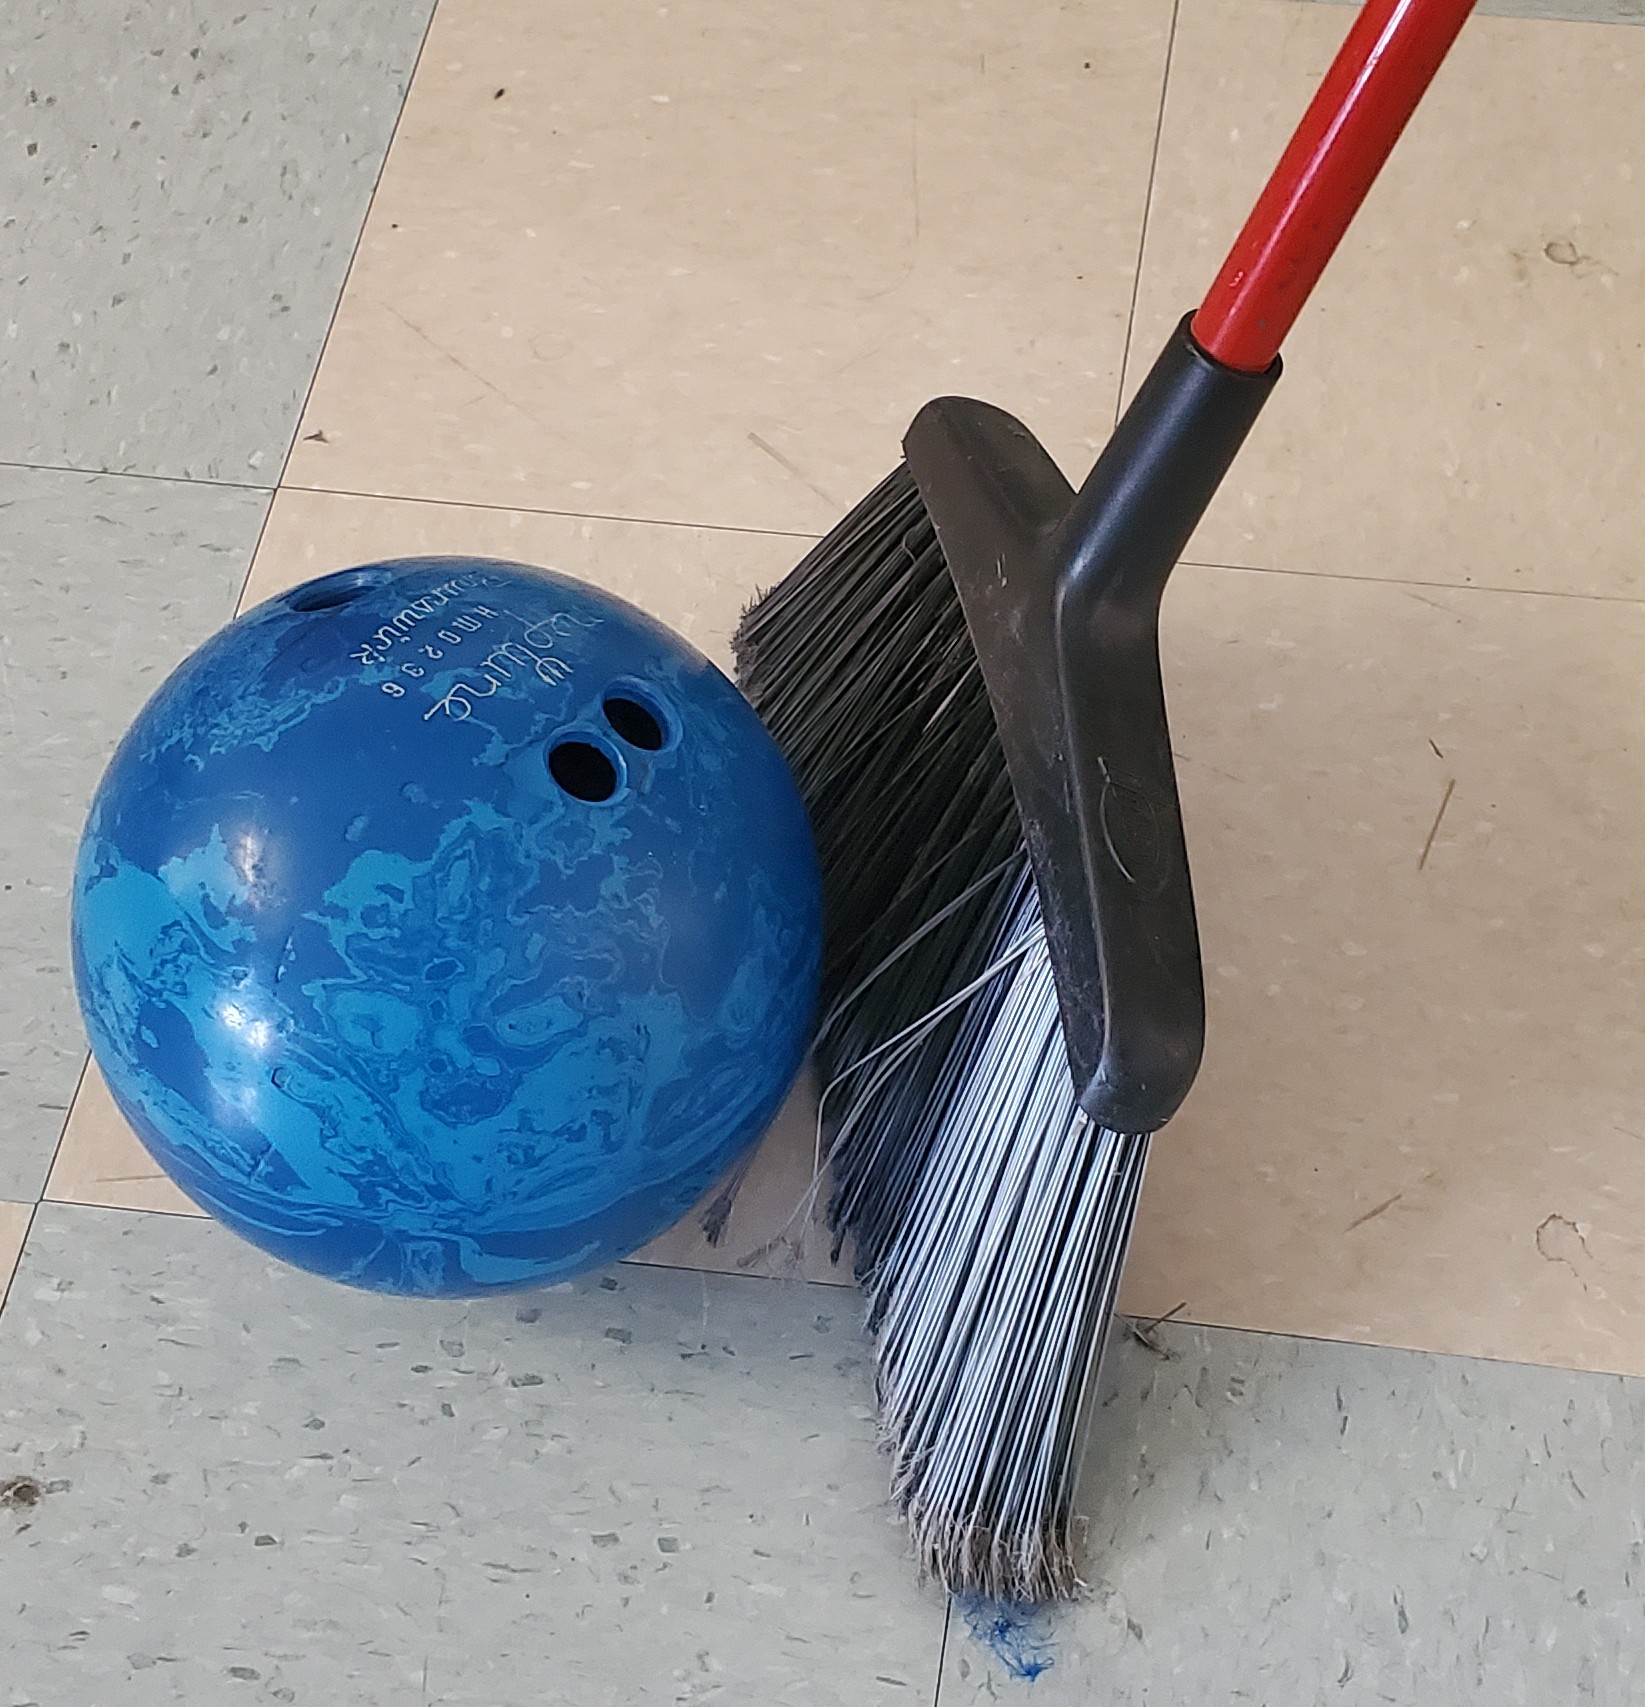
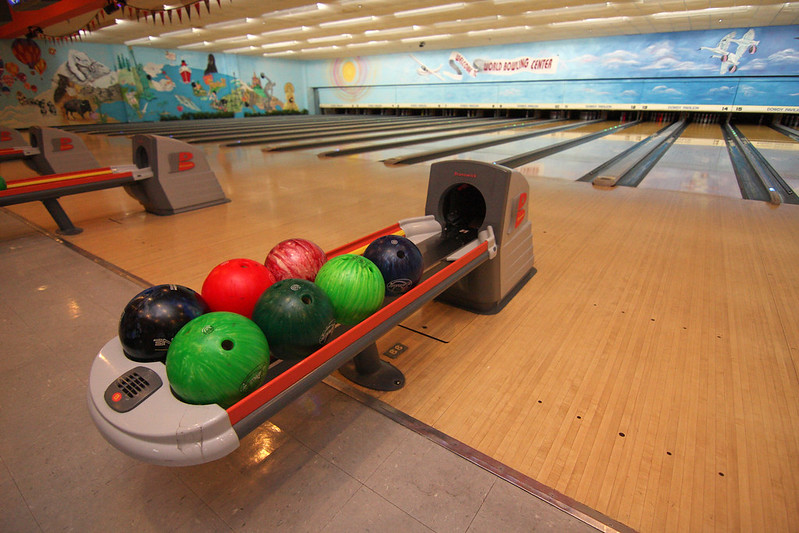
The materials are straightforward and generally easily accessible. For each group, you will need one bowling ball and one broom. For the entire class, you’ll need a lot of space.
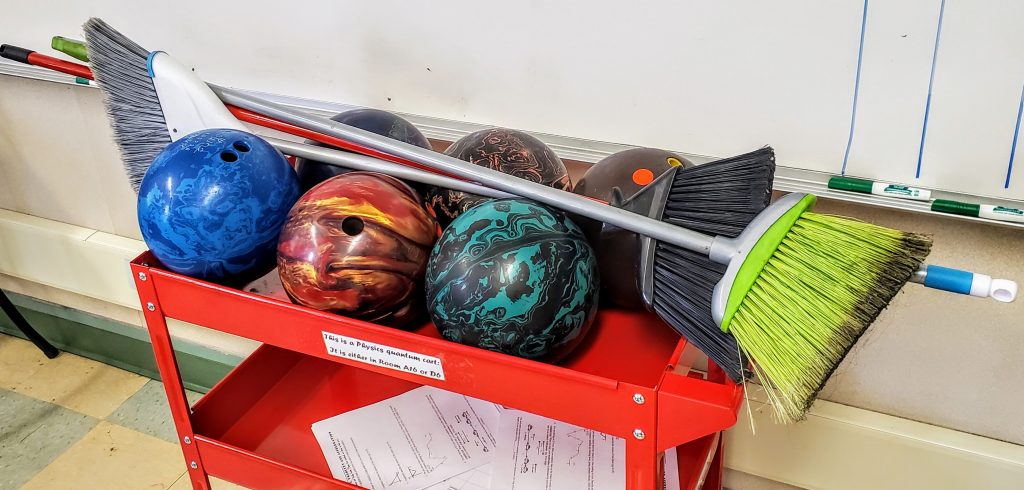
Bowling balls can be picked up at your local bowling alley. They tend to have a collection of old balls and/or personal balls abandoned by previous patrons, just waiting for a local physics teacher to keep them out of the dumpster. Call around and you’ll probably find an alley with a few balls for you. Give them plenty of notice; if they don’t have any they may be able to save them for you in the next few weeks/months. Let them know you’re looking for them for your physics class—they’ll likely say they wish they had you for a physics teacher!
Brooms should be the ‘straw’ type with flexible bristles. The goal is that students only use the bristles. The bristles allow for continuous force applied in one direction.
Need brooms? Send out an email to your school teacher/staff list. There are likely teachers who have a broom in their room who will happily loan them to you for a week or so. Be sure to mark the brooms so you can remember who to return them to! If this method fails, ask your students if they have spare brooms at home, or try a dollar type store (although the cheapest I could find them for was around $3-6 each).
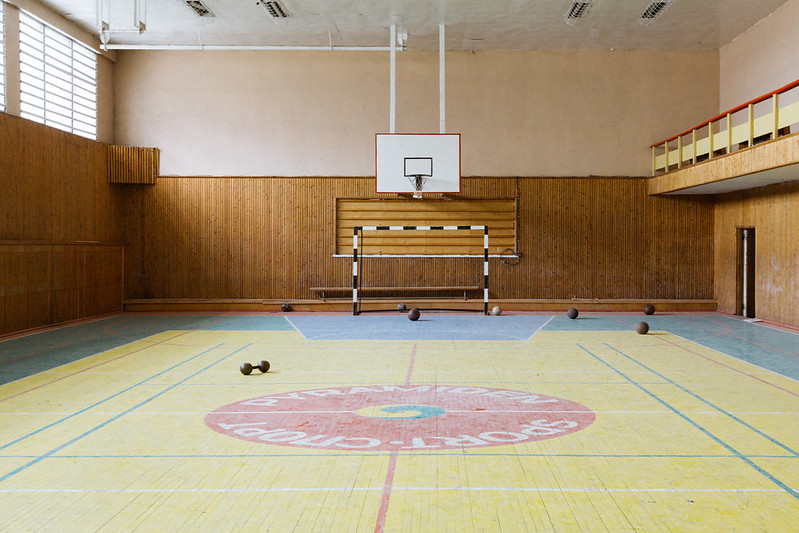
Lots of space. This activity is best conducted outside your classroom. See if you can schedule time in a gym, or on a tennis court outside; the surface should be relatively smooth to ensure that the ball slows down as little as possible. Paved parking lots or cement areas often have too rough a surface to allow the ball to move without noticeably slowing down. Before doing this lab, bring a ball out and test different areas around your school and select the one with the least bumpiness.
Lines and circles: If your chosen space has lines and circles, these will help your students follow motions #4, 6, and 7 (below). If you don’t have these lines, think about the level of your students and their ability to create these lines in their head. With some classes, you may want to use tape to create these lines.

Think about the weather: If you are doing this during a time when it may rain, and you were planning on doing it outdoors, recognize that you may not be able to complete this on your desired day!
If you use a gym or any room inside, remind the students not to drop the ball on the floor. Creating dents in the floor is a good way to be prohibited from using that space again next year!
Procedures
Preparation
Don’t give your students an introduction to forces, Newton’s laws, etc. The goal of this activity is to have students develop their own understanding of the relationship between force and acceleration.
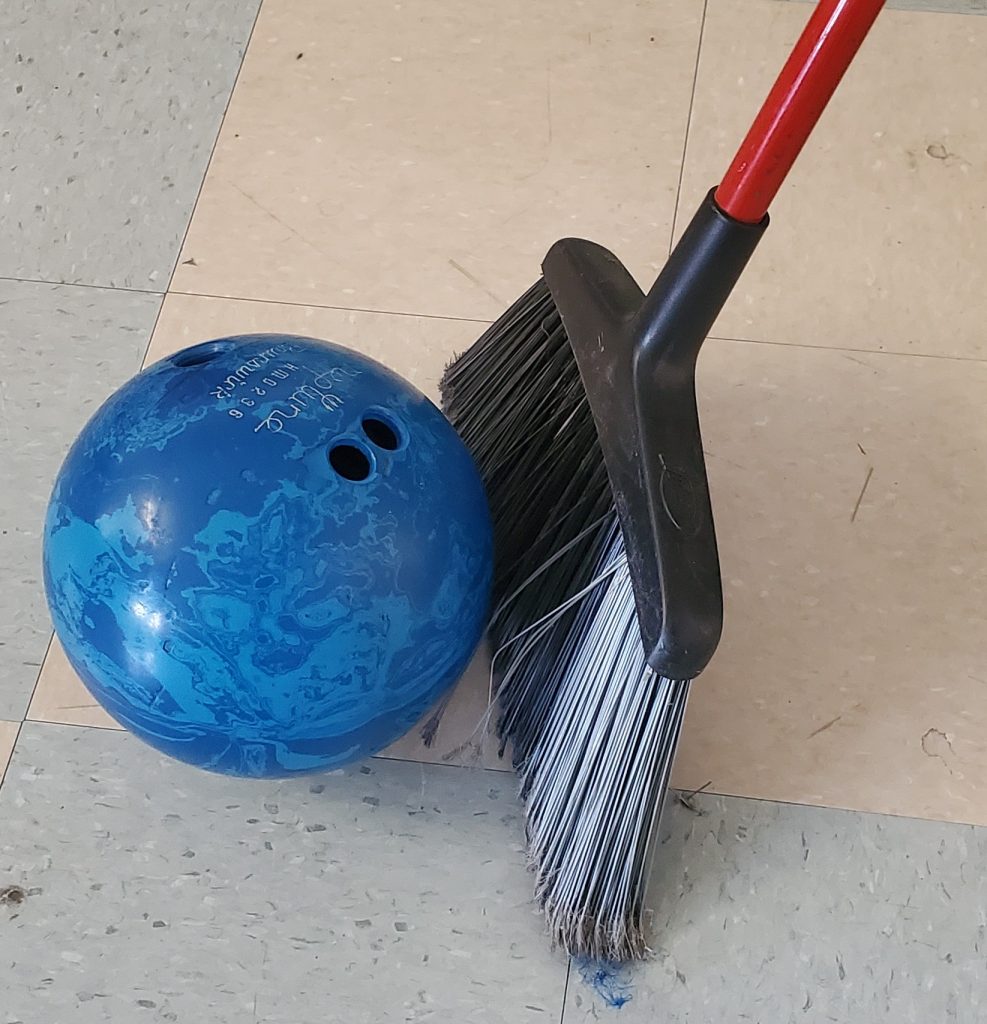
I generally show them a bowling ball and a broom, and demonstrate how they will use only the bristles to move the ball around.
Provide a list of a set of motions for your students. Have the students write out (and sketch) how they can use the broom to produce each motion.
Sample motions:
- Accelerate the ball from rest.
- Slow the ball down from moving.
- Keep a ball moving at a constant speed
- This is where a smoother surface is important! They should not have to push the ball at all for it to keep moving.
- From rest, move a ball from one line to another and back in as little time as possible (see sample video here).
- Have a moving ball make a sharp left turn.
- Move the ball at a constant speed along a curved path.
- Move the ball around a circle as quickly as possible (see sample video here).
Feel free to use the videos above to show your students what some of the motions look like. As of October 2022, these are just short clips, but I hope to add descriptive titles to future versions.
When instructing students to write instructions/ procedures, I like to remind students of the “how to make a PB&J sandwich” steps. A sample video is shown on the right; you might want to show at least a few minutes of it.
I often say “An elementary school kid should be able to follow your procedures.”
If your students are like mine, they’ll probably want to start as general and vague as possible. As you walk around the class, drop tips about using words that describe direction (e.g. forward, backward) and contact position on the ball (e.g. on the front, on the back, on the left side).
I used to do the predictions and testing on the same day, but I’ve found that using two days works better. You never know how long your students will need to carry out the tests and record their procedures, and splitting that between two days can be difficult (especially if you need to get into a gym or other space that needs reservations).
Testing predictions and recording adjustments
Now comes the fun.
Encourage students to spread out in your space so the groups are not running into each other.
As students work, check in with each group. Make your first loop a quick check to evaluate and improve on the quality of their instructions.
One group told me “Speed up the ball by putting the bristles behind the ball.” I held the broom ‘behind the ball’ and just held it there, then said “It’s not speeding up!”
After you are certain that groups are providing complete instructions, it’s time to drop some hints about additional words to use. Here are a few examples:
- If a group writes about ‘forward and backward,’ ask them if using ‘positive and negative’ would be useful.
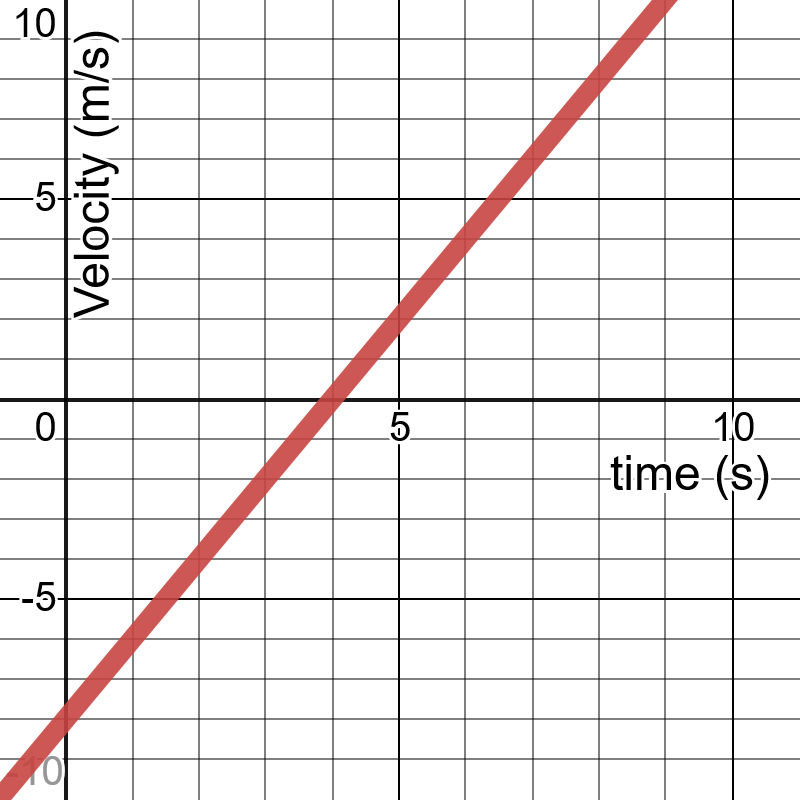
- In the “out and back’ motion (#4 above), I like to plant the seeds with at least one group of thinking in terms of a velocity/time graph . They are at first pushing the ball in the positive direction, then when they start to slow it down, they are pushing in the negative direction…then still negative when they start to speed it up going back!
- For the circular motions, I have often found that it is hard for students to shift their language from ‘left’ or ‘right’ to ‘center of the circle.’ Today, for example, I wasn’t able to get students in a couple groups to identify this word. To end the activity, I asked the class to circle around me. I then asked them to describe where I was in the circle, and students were able to call out ‘the center.’ I then asked them if this word might be useful in describing their circular motion procedures.
Class summary meeting
Another Modeling Instruction (and other teachers’) technique is the use of whiteboards to ‘share out’ results. I will assign each motion to about three groups, so we have more than one group presenting each motion. Once students have prepared their whiteboards, the 2-3 groups share out the procedures they developed for that motion.
Each group presents their description, then it moves on to the next group. After all have presented, we develop a class consensus as to the ‘best’ wording (or maybe a couple of alternatives).
As we move through the different motions, the goals are to develop the following conceptual frameworks:
- The bowling ball will retains its velocity (speed and direction) unless the broom acts on it (this is where the mass of the ball and the smoothness of the surface is important.
- When a force is applied in one direction, the ball will accelerate in that direction (and acceleration can be speeding up or slowing down!).
- Circular motion requires a force that is directed towards the center.
Post activity challenge
I created another post with complete details on this challenge. You can read it here. Below is a short summary.
To add an element of fun, find time when you can have students compete in the activities with a stopwatch to test their speed. This is a great Friday activity if your kids tend to be more easily distracted on Fridays.
A couple of tips
- If your students enjoy competition, create a score board that you can post results as students complete each challenge.,
- Depending on the size of your class and the amount of time you have, you can run the challenge with individual students, pairs, or lab groups.
- Your bowling balls will likely have different masses. As you introduce the challenge, ask students what variables should remain consistent to make the competition fair. Hopefully they’ll come up with mass and size of the broom. If they come up with mass, you can start building their understanding of momentum and/or Newton’s second law.
Out and back challenge
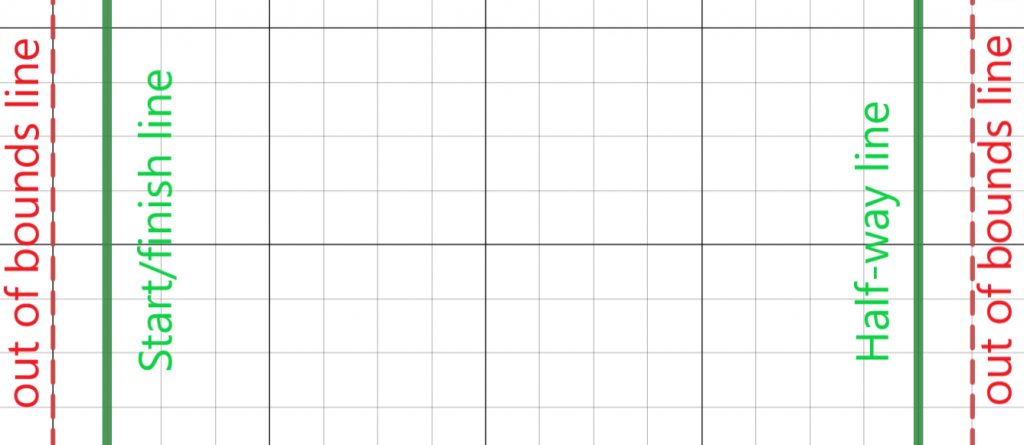
Set up four lines of tape, two at each end of your path. The students must:
- Start between the first two tapes (maybe a meter apart)
- Move the ball to the other tapes (5-10 meters away? you decide)
- Turn the ball around within the far tapes (again, about a meter apart)
- Return to the starting position, stopping between the two lines.
Time students from your announced “Go” until the ball crosses the finish line (but it doesn’t count if they go past the out of bounds line). Filming each might be fun.
Move the ball around a circle
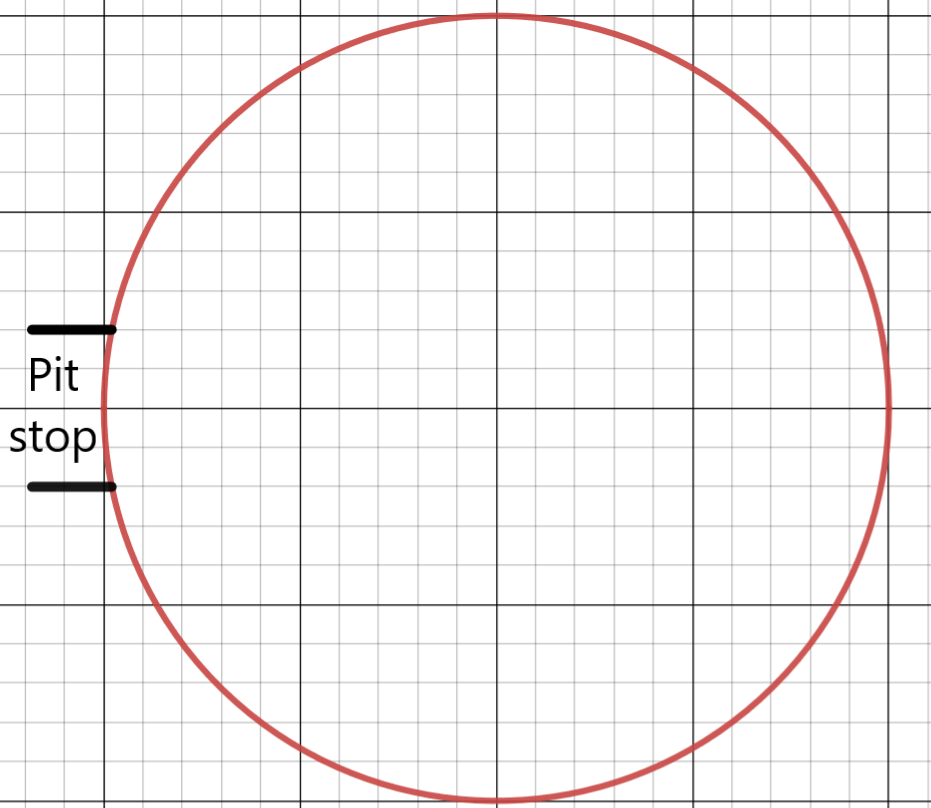
Set up one circle; either use an existing one or use tape/paint/sidewalk chalk to create one. Create a 1m-or-so wide ‘pit stop.’ Students must:
- Start with a stationary ball inside the pit stop and slightly outside the circle.
- Move the ball around the circle without touching the circle.
- Bring the ball to a stop in the pit stop.
Time students from your announced “Go” until enter the pit stop (but it doesn’t count if they go outside the pit stop). Filming each might be fun.
If you want to, you can create an outer circle, but if they too go far out, the distance their ball will travel longer increases, and thus the advantageous placement is as close to the circle as possible.
Nice work up to engage students with kinesthetic activities. One suggestion for you is to start with a demonstration/discussion as follows:
1. Roll a bowling ball across the room (or in the hallway for publicity) and have a student stop the ball after a path of several meters (longer is better).
2. Define a force as a push or a pull.
3. Ask students to list the forces that keep the bowling ball moving.
(Students will engage with many ideas.)
4. Record all student answers on front board.
5. Next ask students to identify the direction of each of their possibilities and draw arrows. Eg. friction is backwards to motion, gravity is downward, etc.
6. Inquire if this push or pull seems to be in the direction to “keep” the ball rolling forward.
7. Write a single line through each suggestion as students decide that this word is NOT correct.
8. Students should decide that NO force is required to keep it moving.
9. Announce that “The concept that nothing keeps it moving is important!
Objects in motion tend to keep moving in a straight line at a steady speed.
This concept is so important that the idea has a specific, scientific name INERTIA.”
10. Now you are ready to proceed with the bowling ball activity.
BTW – Tom Gordon, teacher from the Bronx School of Science, introduced this activity at a NSTA conference in about 1985.